Gluten Free Blueberry-Orange Muffins
Gluten Free Blueberry-Orange Muffins

The combination of Orange Zest and fresh Blueberries in these Gluten Free muffins is absolutely wonderful! And, I love the fact that they aren’t too sweet, making them perfect for Breakfast, mid-morning and afternoon snacks. Enjoy!
Note: I tweaked this recipe from America’s Test Kitchen’s “The How Can It Be Gluten Free Cookbook”
- 8 Tablespoons Butter, Unsalted (1 Stick; Melted & cooled)
- 2 Cups Blueberries (Fresh )
- 3/4 Cup Granulated Sugar (Can use 1 Cup, if you want these to be a little bit sweeter)
- 2-3 teaspoons Orange Zest (Zest of 1 large orange)
- 1 3/4 + 2/3 Cups Gluten Free All-Purpose Flour (I made the ATK’s Gluten Free Flour Blend (recipe included below), but I also make these with Pamela’s Gluten Free All-Purpose Flour Blend, if I don’t have my own mix readily available)
- 1 Tablespoon Gluten Free Baking Powder
- 1/2 teaspoon Salt
- 1/4 teaspoon Xanthan Gum
- 1/2 Cup Plain Yogurt (I used 0% Fat Yogurt)
- 3 Large Eggs
- 2 Tablespoons Turbinado Sugar (i.e. Raw Sugar)
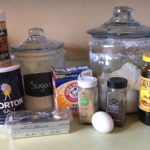
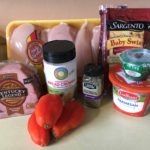
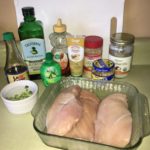
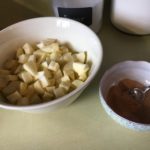
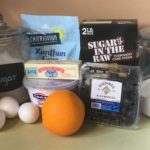
- Gather the ingredients.
- Melt the butter and let cool a bit while you begin preparing the muffin batter.
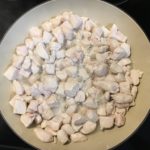
- In a food processor, pulse the Blueberries a few times (3-4) to coarsely chop them. Scrape them into a separate bowl and set aside.
Note: I would normally leave them whole, but certain members of my family prefer them when chopped :).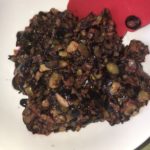
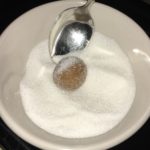
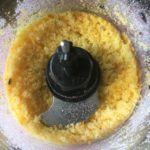
- In the same food processor, combine the granulated sugar and orange zest. Pulse for about 10 seconds until the consistency is sand-like.
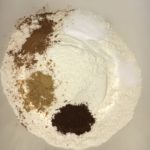
- In a large bowl, combine the GF Flour mix, baking powder, salt and xanthan gum. Mix well with a whisk. Then add to the sugar mixture in the food processor, pulsing until well blended.
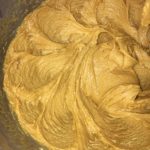
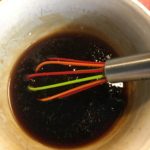
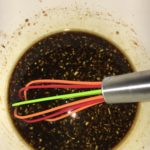
- In the same large bowl that you used to whisk together the flour mixture, combine the eggs, yogurt and melted butter. Whisk until well blended, then add to the food processor and blend until there are no lumps.
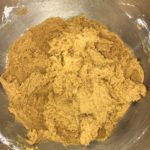
- Transfer the batter to the large bowl and gently fold in the chopped (or whole) blueberries. Cover the bowl with plastic wrap and let rest for 30 minutes.
(Note: this resting period is important in order to let the grains soften or mature, so that the resulting muffins will not be grainy or sandy in texture)
- Meanwhile, preheat oven to 400 degrees.
Line a muffin tin with muffin cups and spray with a non-stick cooking spray. - After the batter has rested for 30 minutes, scoop into the lined muffin tray using a medium or large scoop. This batter does not rise much, so don’t worry about filling the cups to the top.
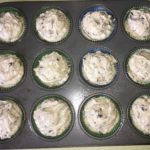
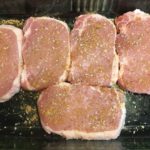
- Sprinkle the tops with the Turbinado sugar.
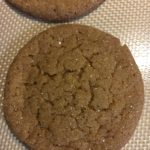
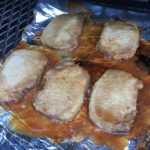
- Bake for about 18-20 minutes, or until lightly golden and toothpick comes out clean. Cool muffins in the pan for about 10 minutes, before transferring them to a wire rack to cool for an additional 10 minutes.

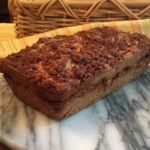
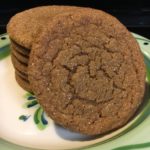
- Enjoy these muffins that are chock full of blueberries while warm :).

- Any leftovers can be completely cooled and stored in an airtight container for about 2 days or frozen for 2-3 weeks. Before serving, let thaw and microwave for about 20 seconds.
The ATK Gluten Free Flour Blend
Ingredients:
- 4 1/2 Cups + 1/3 Cup White Rice Flour
- 1 2/3 Cups Brown Rice Flour
- 1 1/3 Cups Potato Starch (NOT Potato Flour)
- 3/4 Tapioca Starch
- 3 Tablespoons Nonfat Milk Powder (if milk allergies are an issue, substitute with Gluten Free, Lactose Free, Non-Dairy Coffee Creamer Powder, like Nestle Original Coffee-Mate).
In a large bowl, combine all of the ingredients with a whisk and transfer to an airtight container. Refrigerate for up to 3 months. Before using, bring to room temperature.