Danish Butter Cookies ~ Gluten Free
Danish Butter Cookies ~ Gluten Free
These delicious little butter cookies just melt in your mouth. And, they’re made with just 4 simple ingredients 🙂 I have made these cookies using several different Gluten Free All-Purpose flour mixes and found that the “Cup 4 Cup” brand worked the best…they taste amazing and are slightly crisp on the outside and light and buttery throughout! These cookies just moved to the TOP of my Favorites list 😉
A HUGE “Thank You” to Shelly Jaronsky (Dixie Crystals) for sharing the Original version of this recipe – I tweaked it a little to make it Gluten Free worthy.
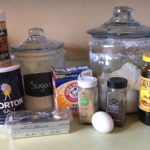
- 1 Cup Salted Butter (room temperature)
- 3/4 Cup Powdered Sugar
- 2 tsp Vanilla Extract
- 2 Cups “Cup for Cup” All-Purpose Flour (*Use the “Spoon & Sweep” method when measuring your flour – spoon the flour to fill a 1-Cup measuring cup, then scrape off the top with the backside of a knife; do not simply scoop the flour out of its container with the measuring cup – this will pack the flour, resulting in too much flour needed for the recipe.)
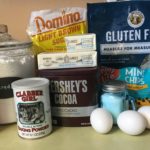
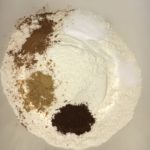
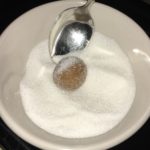
- Gather the ingredients.
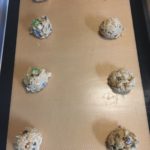
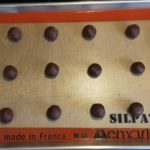
- Line 1-2 baking sheets with Parchment Paper or baking mats; set aside.
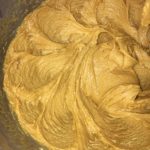
- Using a Stand Mixer, fitted with the Paddle Attachment, cream the Softened Butter, Powdered Sugar and Vanilla on the Medium setting (#4) for about 5 minutes, scraping down the inside of the bowl as needed; the mixture should be light in color and whipped.
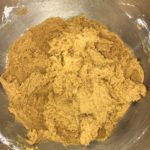
- Next, lower the speed of the Mixer to the lowest setting and gradually add the GF Flour, 1/2 cup at a time; Dough will be soft and smooth.
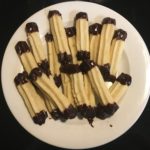
- Place a large Star tip into a piping bag (or large plastic resealable bag) and transfer the dough to the piping bag.
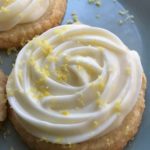
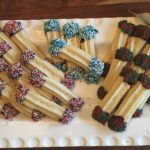
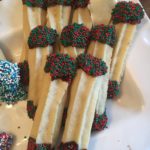
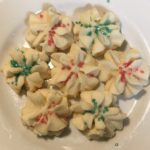
- Pipe the dough onto the prepared cookie sheets in Rosette or Circle designs/shapes. The dough does not spread very much, if at all, so you can pipe a lot of cookies per sheet – I usually pipe 20 – 2″ cookies per sheet.
- Sprinkle each cookie with sprinkles/colored sugar, if desired.
- Next, place the cookie sheets into the refrigerator for 30-40 minutes to chill the dough – this helps them maintain their shape while cooking.
- Meanwhile, preheat the oven to 300 degrees.
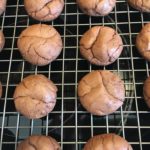
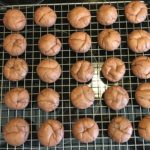
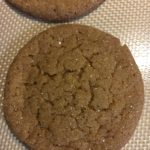
- Once the cookies are finished chilling, bake them for 18-20 minutes, or until the edges turn a light, golden brown.
- Cool the cookies for about 5 minutes on the cookie sheets before transferring them to wire cooling racks to cool completely.
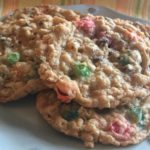
- Enjoy with a hot cup of cocoa, tea or coffee…or a glass of cold milk 😉