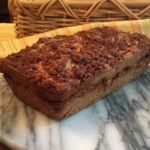
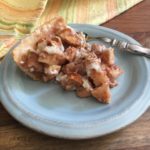
Gluten Free Cinnamon Bread
Gluten Free Cinnamon Bread

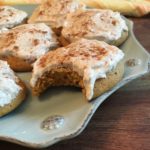
Oh my gosh! This recipe for Gluten Free Cinnamon Bread is so delicious and easy to make! You will have a hard time telling that it’s Gluten Free :). I make several of these at a time, since my family can polish off an entire loaf in an afternoon!
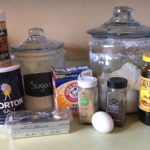
Dry Ingredients for Bread
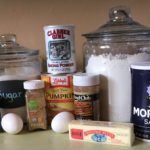
- 2 Cups Gluten Free All-Purpose Flour (I use Pamela’s All-Pupose Flour – Gluten Free + Vegan Artisan Blend or my own blend if I have some on-hand)
- 1 Cup Granulated Sugar
- 2 Teaspoons Gluten Free Baking Powder (I use Clabber Girl)
- 1/2 Teaspoon Baking Soda
- 1 Teaspoon Salt
- 2 Teaspoons Ground Cinnamon
Wet Ingredients for Bread
- 2 Large Eggs
- 1 Cup Buttermilk
- 1/4 Cup Canola Oil
- 2 Teaspoons Vanilla Extract
Cinnamon Topping
- 4 Tablespoons Granulated Sugar
- 2 Teaspoons Ground Cinnamon
- 4 Teaspoons Butter, Salted (Keep cold)
Preparation
- Preheat oven to 350 degrees
- Using a solid shortening, grease a 9″ x 5″ bread pan. Set aside.
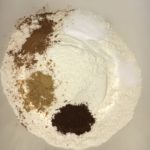
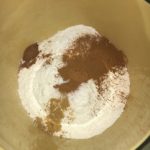
Mixing the Dry Ingredients
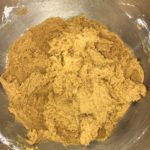
- In a large bowl, combine the Dry Ingredients (the first 6 ingredients for bread mix). Mix well and set aside.
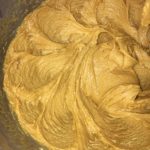
Mixing the Wet Ingredients
- Using a standard Stand Mixer, whisk the eggs. Then slowly add the Buttermilk and oil. Blend well.
- Add vanilla and blend until well combined.
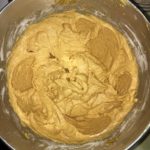
Combining the Dry and Wet Ingredients
- Mixing on medium-low speed, slowly add the Flour mixture, one cup at a time, to the Egg mixture, making sure to scrape down the sides between additions. Note: mixture will be sticky/gummy.
Making the Cinnamon-Sugar Layer & Topping
- Note: You may make this at the beginning and set aside, while making the loaf part…or make it at this step.
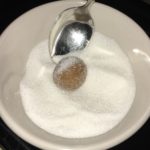
- In a small bowl, mix the 4 Tablespoons of sugar with the 2 teaspoons cinnamon. Next, cut in the cold butter with a sharp knife and blend until crumbly.
Putting it All Together
- Pour half of the Bread dough mixture into the prepared loaf pan. Spread evenly.
- Sprinkle half of the Cinnamon-Sugar mixture on top of this layer.
- Pour remaining Bread Dough mixture on top of the Cinnamon layer. Spread evenly.
- Sprinkle top with remaining Cinnamon-Sugar mixture.
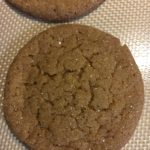
- Bake for 45-50 minutes, or until toothpick comes out clean.
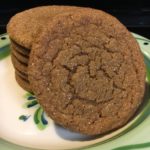
- Let rest for about 10 minutes before removing from pan. Cool on a rack before slicing. Enjoy!