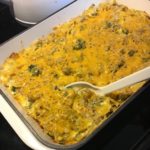
Easy Creamy Broccoli & Cheddar Soup ~ Gluten Free
This quick & easy recipe reminds me of my favorite Broccoli-Cheddar Soup from Panera Bread, but without the Gluten 🙂 It’s so fresh and flavorful that I can’t stop at just one bowl! I owe a HUGE “Thank You” to Holly Nilsson @ spendwithpennies.com for sharing the original version of this yummy soup!! I made a few adjustments in order to make it Gluten-Free and allergy-friendly for my family.
Easy Creamy Broccoli & Cheddar Soup ~ Gluten Free

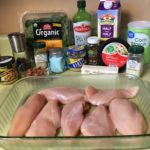
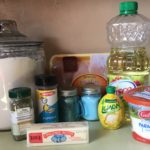
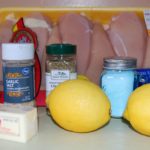
- 1 Tbsp Butter (unsalted)
- 1 Small Onion (Chopped)
- 1/2 Cup Carrots (Diced)
- 1/2 teaspoon Garlic (minced)
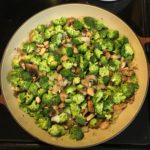
- 1 Large Head Broccoli (Chopped (about 3 Cups))
- 2 Cups Chicken Broth (Low Sodium or Regular)
- 1/2 teaspoon Dried Thyme
- Salt & Pepper (to taste)
- 2 Tbsp All-Purpose Gluten Free Flour (I use Bob’s Red Mill 1-to-1 GF Flour)
- 3/4 Cup Whole Milk
- 3/4 Cup Skim Milk
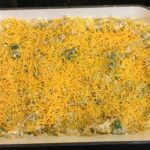
- 1 Cup Sharp Cheddar Cheese (Shredded)
- In a large saucepan, melt the Butter over medium-low heat. Once Butter is melted, add the Onions, Carrots and Garlic; cook until the Onions are translucent and soft (about 3-5 minutes).
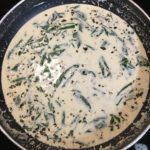
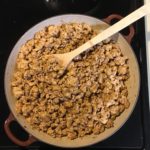
- Add the Broccoli, Chicken Broth and Seasonings to the Onion mixture and cook over low heat until the Broccoli has softened ~ about 15 minutes.
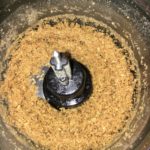
- Next, using either an Immersion Blender, Regular Blender or Food Processor, thoroughly blend the cooked Vegetable/Broth mixture; set aside in the large saucepan over Low heat.
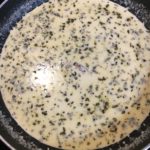
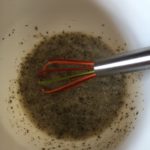
- Meanwhile, in a small/medium bowl, combine the GF Flour blend and Milks using a whisk to thoroughly blend; Add this mixture to the Vegetable/Broth mixture in the large saucepan.
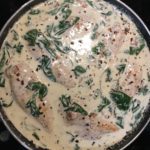
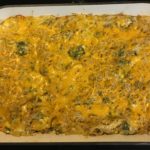
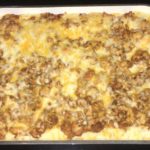
- Increase the temperature to Medium/Medium-Low and bring to a boil, while whisking continuously; once the mixture has thickened (about 5 minutes), remove from heat and add the Shredded Cheddar.
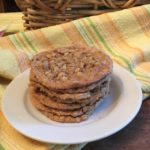
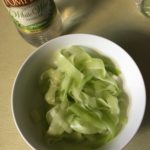
- Serve with your favorite GF Bread and Enjoy!