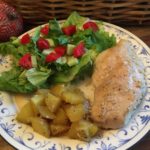
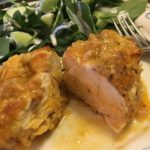
One Dish Brown Sugar Garlic Chicken & Potatoes
One Dish Brown Sugar Chicken & Potatoes
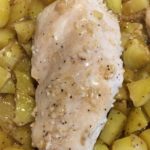
This sweet and savory recipe is perfect for those nights when you’re in a rush and need a quick and easy-to-prepare dinner with few ingredients! I also use this same recipe for Pork Chops that I found @ dinnerthendessert.com…one of my favorite food websites! 🙂
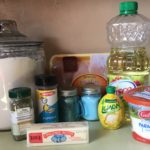
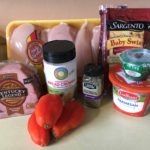
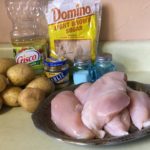
- 3-4 Large Boneless, Skinless Chicken Breasts (Rinsed and trimmed)
- 1/2 Cup Light Brown Sugar (Firmly packed; increase to 3/4 Cup if you prefer sweeter taste)
- 2 Tablespoons minced garlic (Fresh or in the jar)
- 1/2 + 1/4 teaspoon Salt (1/2 tsp for the potatoes and 1/4 tsp for the chicken)
- 1/4 + 1/4 teaspoon Freshly Ground Pepper (1/4 tsp for potatoes & 1/4 tsp for chicken)
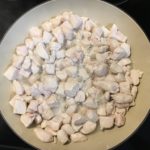
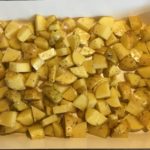
- 8-10 Medium Yukon Potatoes (Cut into bite-size pieces)
- 2 + 1 Tablespoons Canola Oil (2 T for potatoes & 1 T for chicken)
- Preheat oven to 400 degrees.
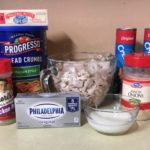
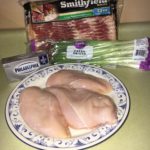
- Gather the ingredients.
- In a large bowl, combine the Potatoes, 1/2 teaspoon Salt, 1/4 teaspoon Pepper and 2 Tablespoons Oil. Toss to coat well. Spread into a 9″ x 13″ deep baking dish.
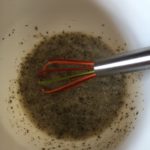
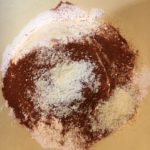
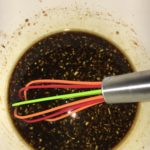
- Using the same large bowl, combine the Brown Sugar, Garlic, 1/4 teaspoon Salt, 1/4 teaspoon Pepper and 1 Tablespoon Oil. Mix well.
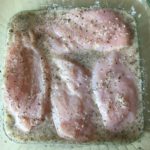
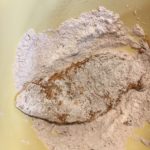
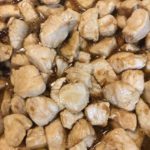
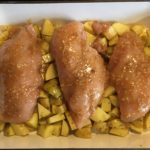
- Add the Chicken to the Brown Sugar mix, turning to coat well (I kind of mush the chicken around a little). Place Chicken on top of the potatoes in pan. If you have any leftover Brown Sugar mix, spread it amongst the chicken breasts in the pan.
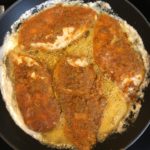
- Bake for 30-35 minutes, turning Chicken over halfway through.
- Be sure to drizzle some of the savory juices over the Chicken and Potatoes before serving. Serve with your favorite veggie and enjoy! 🙂